Water Planes in Unreal Engine with Starter Pack Materials
INTRO
For the Water plane, in the end I decided to disregard the previous research works done in Maya Maya (Octoplug, Ocean Shader, etc.) And decided to use the water materials included on the Unreal Engine (4.22/4.23 at least).
The default materials look really good for water effect and have very nice waves effects.
They however need a bit of tweaking, as their blueprints under the scenes have certain "hardcoded" values that make them only usable under certain dimensions without losing some of their look. So it would be great to convert those hardcoded values into parameters that we can tweak to adapt to our needs.
On this entry, I'm going to explain how I used the Standard materials for my scene on the project. Even though initially looks like drag and drop, it is not exactly like that and may require some tweaking if you want to make it look nice.
SETUP: ADD FEATURE OR CONTENT PACK
Include the Content Pack into your project.There are two water materials: lake and ocean
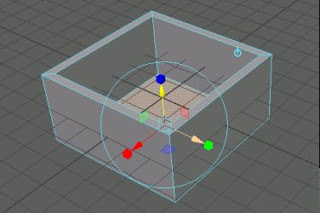
You can create a plane or a cube and drag, for example the ocean lake:
BE WATER MY FRIEND: MAKING PARAMETERS MORE FLEXIBLE
As Bruce Lee taught us, one the key features of water should be the flexibility.However, the Content pack water materials, using them with the default values have certain issues.
Resizing on certain ways the shape has a bad impact on the way the texture looks.
ENHANCING THE MATERIALS TO MAKE THEM MORE ADAPTABLE
Below a method and analysis on how to make the water materials more flexible.I followed a video tutorial that I'll leave access to on the bottom.
Analyzing elements on the scene:
Drag and drop a basic shape, plane:
Resize it
Duplicate the materials, to prevent losing them, and create and instance of the duplicate.
Note that we are going to focus on the Ocean Material and not the lake one.
Apply the instance to the shape.
Double click on the (duplicated) material, and not in the instance.
The default Blueprint is structured as you can see below. There is an area for the Big Waves effects, the ones that are on the distance. There is another area for the small waves, the ones that are closer. And finally there is an area to simulate the transition between them.
We start by editing the large waves blueprint.
We add two scalar parameters:
- LargeWaveTiling
- LargeWaveSpeed
Rename the noise speed parameter
Lastly to control the repeated pattern.
Change 150 constant to a parameter "LargeWaveWorldPositionTiling" (right click, convert to parameter)


Comentarios
Publicar un comentario